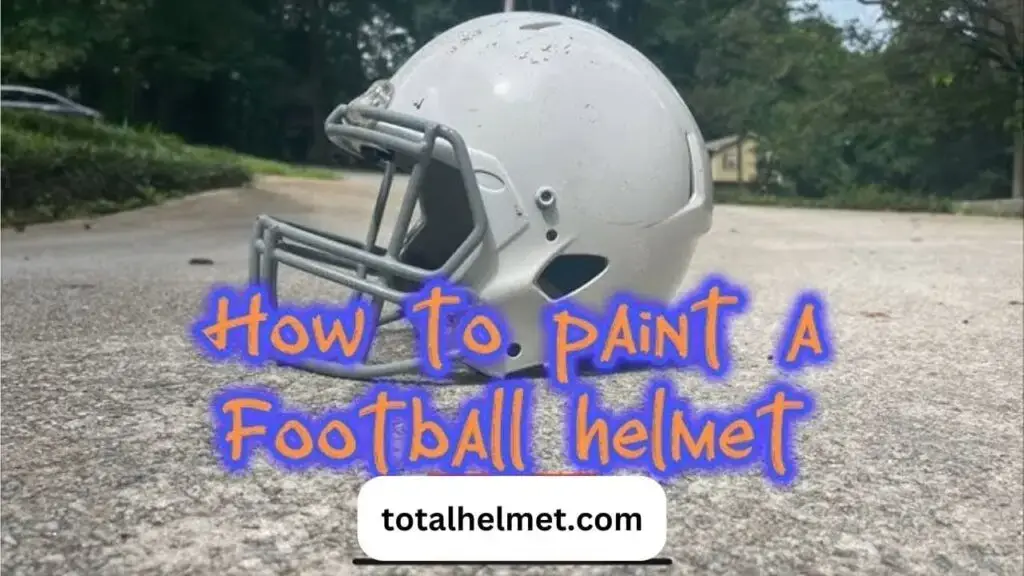
If you’re ready to revitalize an old helmet or customize a new one, paint a football helmet is a meticulous task that requires some care but brings rewarding results. This process can help create a professional finish with vibrant colors that truly stand out. Whether you’re a player looking to personalize your gear or a coach aiming to refresh the team’s helmets, following a precise process will ensure your helmet looks great and maintains its protective integrity. Also, keep in mind to avoid using any worst helmet brand to prevent compromising quality and safety.
To start, solid prep work is key. First, thorough preparation makes sure that each layer adheres properly, resulting in a smooth, durable finish that lasts. The steps are simple: Begin by cleaning and sanding, then apply a final coat of paint. This technique works especially well for helmets meant as decorative items rather than for the field, as these should be for decorative purposes only and not be worn for play. If a practical refurbishing is needed, consult the National Athletic Equipment Reconditioners Association for a licensed business near you.
For the best results, focus on each step of the project to achieve a polished look that adds new life to an old team helmet or creates a unique piece of gear.
How to Paint a Football Helmet in 6 Easy Steps
Here are the steps to follow to paint a football helmet.
Step 1: Scrape, Clean, and Prepare the Helmet
To get a smooth and long-lasting finish on your helmet, start with preparation. Begin by cleaning it thoroughly with soap and water to remove all dirt, oils, and any residues. I recommend using a cloth or sponge for this step, as it helps scrub the surface well. Dry the helmet completely with a clean cloth to ensure no moisture is left behind. Next, scrape off any old decals or stickers and check carefully for any leftover residue.
After cleaning, use 400 to 600 grit sandpaper to sand the helmet’s surface. This step is crucial for making the primer and paint adhere better. Sand using small, circular motions to create an even and slightly roughened-up surface. Finally, wipe the helmet down with a microfiber cloth to remove any dust particles. Following these steps will give you a great foundation for painting and help ensure the best possible result.
Step 2: Masking Off the Helmet
When preparing a helmet for painting, the masking step is crucial to get a clean and professional look. Start by using painter’s tape to cover any areas you don’t want painted, like the helmet’s interior, chin strap, and any logos or designs you plan to keep visible. It’s essential to press down firmly on the tape to make sure no paint seeps underneath.
For larger sections, such as the entire interior or other spaces at risk for overspray, using plastic sheeting or newspaper works well to protect against accidental paint coverage. This careful masking process ensures a precise, clean edge where you want to color and where you don’t. If you’re planning to wrap a helmet or apply Stickers Helmet to add personalized details, proper masking is key.
Step 3: Hanging the Helmet and Applying Primer
To ensure an even coat of paint, it’s ideal to hang the helmet so that every edge is free and doesn’t touch any surface. You can suspend it using a clothesline or a wire hanger, which lets you cover the whole surface evenly. Before painting, apply a primer meant specifically for plastic or metal surfaces. Shake the primer thoroughly for about 2 minutes so it mixes well.
When spraying, keep the can around 8-10 inches away and spray light, even coats to avoid any drips. Let each coat dry for at least 30 minutes, applying 2-3 coats for full coverage. After priming, sand the helmet gently with 600-grit sandpaper to smooth out imperfections, then wipe away the dust for a flawless base.
Step 4: Spray Painting the Helmet
After you’ve prepared the helmet, it’s time for spray painting. Choose an acrylic enamel spray paint for the best professional finish. Before you start, shake the paint can for about 2 minutes to mix it well. It’s a good idea to test the spray on some cardboard to make sure it sprays smoothly. When you’re ready, hold the can about 8-10 inches away from the helmet. Use thin, even coats and apply the paint in sweeping motions. Begin with a light mist and gradually build up layers until you get the desired color.
Let each coat dry for about 30 minutes and apply 3-4 coats to achieve full coverage. After each coat, check for any rough spots and lightly sand them down. Once the final coat dries, you should have a helmet that looks smooth and even. For a cooler appearance, opting for white helmets often proves to be a popular choice, as White Helmets Cooler offers better heat reflection and a sleek finish.
Step 5: Applying the Clear Coat
After your paint job is dry, it’s time to apply a clear coat to protect the paint and give it a glossy finish. Start by shaking the can of clear coat thoroughly to mix it well. When you’re ready, hold the can about 8-10 inches from the helmet and spray in light, even coats. This helps to avoid drips and ensures a smooth surface. Let each coat dry for about 20-30 minutes before applying the next one.
It’s best to add 2-3 coats to achieve the best shine and durability. After you’ve finished the final coat, allow the helmet to dry for at least 24 hours. This waiting period is important to ensure the clear coat is fully cured, making your helmet look great and ready for action.
Step 6: Polishing and Final Touches
After painting, it’s time to remove the painter’s tape and any masking materials carefully to avoid damaging the helmet’s fresh coat. For a beautiful, lasting paint job, I like to use high-quality car polish or Novus Plastic Polish to achieve a deep shine. Begin by applying a small amount of polish to a cloth and working on small areas at a time. Gently buff the surface using circular motions, you can use a drill-attached buffer with soft pads.
It helps bring out a more even, glassy finish. Once polished, take a moment to inspect the helmet for any imperfections and make touch-ups if needed. Adding decals at this stage is smart for a custom helmet, as the polished surface helps them adhere better. For painting tasks, wearing a mask and focusing on short, controlled bursts during spray painting ensures the best results. I’ve found that this technique works not just for motorcycle helmets but also for projects like painting a football helmet.
Conclusion
Spray painting a football helmet requires patience and attention to detail, but with the right materials and a methodical approach, you can achieve a professional-quality finish. By following these steps, you ensure that your helmet not only looks fantastic but also remains durable and safe for use.
FAQs
About the Author
I am Daniel Ken, an experienced motorcycle rider with 8 years on the road, and I specialize in writing about motorcycle helmets. I share expert insights on helmet safety, comfort, and style, helping fellow riders choose the best gear. My knowledge covers top safety standards, helmet types, premium materials, and advanced ventilation and noise reduction features.

Memilih ZEUSQQ sebagai link situs slot terbaru Anda akan mendapatkan banyak keuntungan. Karena dengan mendaftarkan akun melalui ZEUSQQ link alternatif, Anda akan mendapatkan banyak sekali promo bonus. Contohnya bonus member baru yang dapat Anda nikmati apabila Anda baru selesai membuat akun. Selain itu juga, situs ZEUSQQ juga memberikan bonus Mingguan baik menang ataupun kalah.