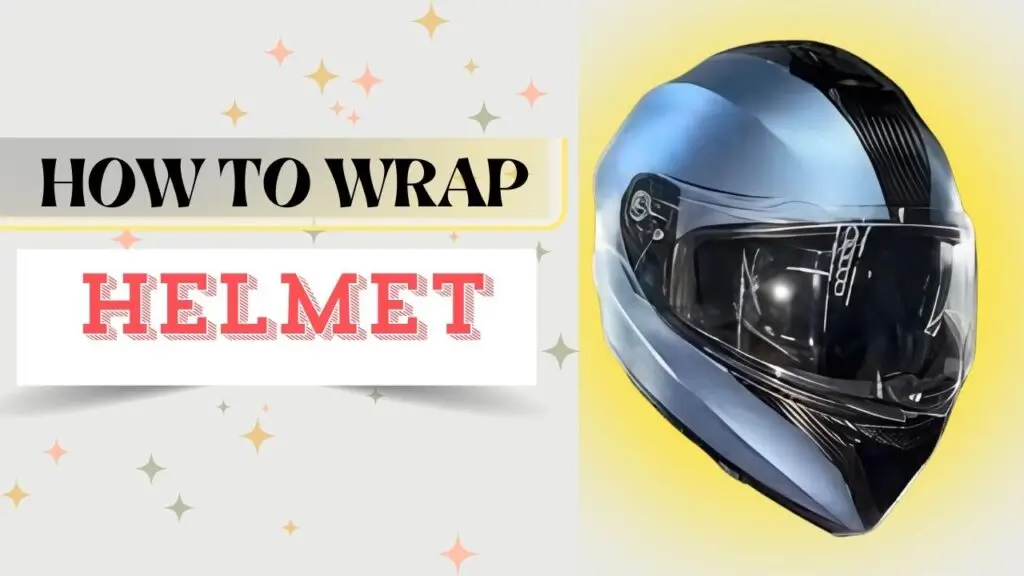
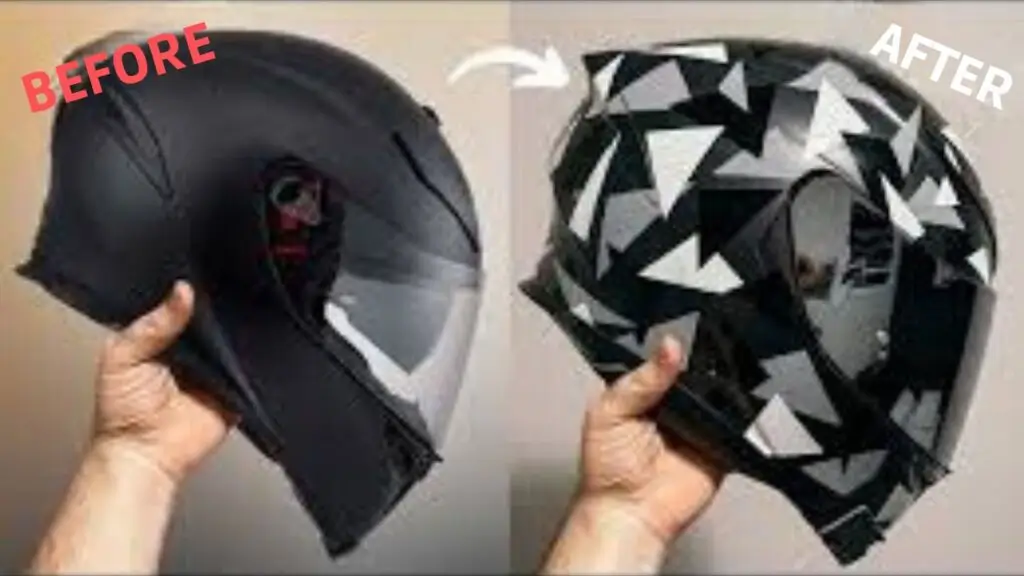
wrap a motorcycle helmet is an exciting way to personalize your ride and protect your gear. Wrapping is a fantastic option if you’re tired of the boring black or want to add a splash of color to your helmet. This guide will explore everything you need to know about helmet wraps, from materials and techniques to the benefits and costs involved.
Wrapping a motorcycle helmet is a great way to add some personal flair and break free from the typical boring designs. Most helmets come in standard black, which not only lacks variety but also absorbs too much sun, making it uncomfortable during hot rides. To switch things up, you can cover the original paint with a vinyl wrap, allowing for endless possibilities in terms of graphics, colors, and patterns. Not only does this give your helmet a unique look, but it’s also cheaper than painting.
For those who want to save money, you can do it at home using basic materials like the best vinyl wraps available. Wrapping also has the added benefit of allowing you to tint your visor, giving it a sleek look, though it’s important to check for legality depending on where you live. Many riders often ask about potential issues, such as bubbles during installation and whether vinyl wraps scratch easily. With proper care and following installation tips, a wrap can last a long time without easily getting damaged.
Wrapping a Helmet vs. Painting
If you’re looking to customize your helmet, there are two main options: wrapping or painting. A vinyl wrap allows you to add your style without permanently altering the paint or coatings. It’s quicker and less labor-intensive since you don’t need to sand the shell, which could even void your warranty. The best part is wraps are temporary; you can peel them off without worry, and high-quality ones won’t fade or peel for years.
In contrast, spray painting a helmet is a more demanding process that involves hours of work by a skilled artist. Although a computer printer makes intricate designs for wraps, painting requires real expertise. While wraps are typically cheaper, a bad-quality wrap could sag, distort, or scratch if applied poorly. Plus, wraps may hide cracks in your helmet’s shell, which can prevent it from properly absorbing impact after a drop.
From my experience, the cost difference alone can be significant, and wrapping is often the smarter choice for anyone looking to save money while still achieving a great look. Deciding whether to tackle the wrap yourself or hire professionals depends on your budget and skill level. Professional wrappers can provide a flawless finish, especially for intricate designs, but they come at a higher cost. DIY wrapping is cheaper and can be a fun project but requires precision and patience.
The Benefits of Helmet Wrapping
Helmet wraps offer numerous benefits beyond just enhancing your helmet’s appearance. Here’s why you might consider wrapping your helmet:
Customization: Personalize your helmet with unique colors, designs, and graphics. The variety of options available means you can make your helmet stand out from the crowd, including the option of adding eye-catching stickers.
Protection: A vinyl wrap adds an extra layer of coating to protect your helmet from scratches and minor impacts. This helps preserve the original paint and keeps your helmet looking fresh.
Cost-Effective: Compared to painting, wrapping is often a cheaper alternative. A professional wrap job can cost between $100 and $400, depending on complexity and materials, while painting can be significantly more expensive.
Professional Helmet Wrap Companies You Can Trust
When you want a custom helmet that looks painted but at a much lower cost, consider professional helmet wrap companies. Three of the best are Dewraps, HP Graphics, and WrapSesh. They do flawless work and have great examples on their websites. You can expect to pay about $400 for the wrap and the labor, which is worth it for the stunning results. If you’re into motocross, check out Backyard Design USA. They offer much cheaper options, letting you create your own designs for around $100 to $150. While your local wrap shop might not specialize in helmets, some are open to taking on these projects. With the right company, you’ll have an awesome helmet that stands out on the road!
Choosing the Best Materials for Your Helmet Wrap
When it comes to materials, there are several options to consider:
Vinyl Sheets: Vinyl is the most popular material for helmet wraps. Available in various finishes like gloss, matte, and carbon fiber, it’s durable and resistant to outdoor elements.
Cast vs. Calendared Vinyl: Cast vinyl is thicker and more flexible, making it ideal for curves and complex shapes. Calendared vinyl, while cheaper, is less flexible and may not conform as well to intricate designs.
How to Prepare a Helmet for Wrapping
Proper preparation is crucial for a flawless wrap. Here’s how to get your helmet ready:
Clean Thoroughly: Remove any dust or dirt from your helmet. Use a mild soap and water solution to clean it, and ensure it’s completely dry before starting.
Remove Existing Decals: If your helmet has stickers or decals, carefully remove them. A heat gun or hair dryer can help soften the adhesive for easier removal
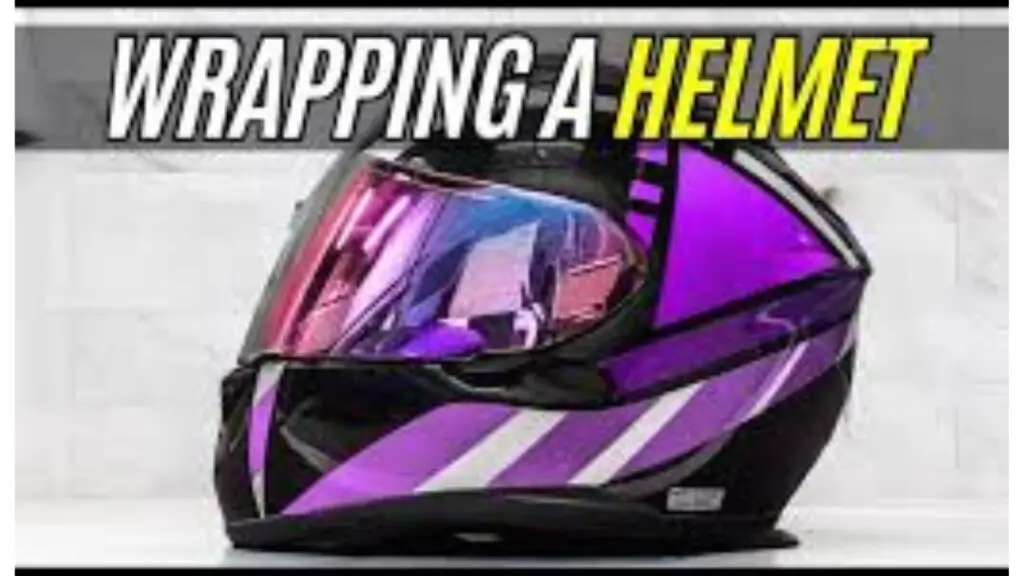
How to Wrap a Motorcycle Helmet
To wrap a motorcycle helmet, you’ll need patience, precision, and an eye for detail. Start by gathering your materials: a good vinyl wrap, a cutting tool like a razor blade or X-Acto knife, a heat gun or hair dryer, a credit card or squeegee, and knifeless tape for easy trimming.
First, clean your helmet to remove all dust for a smooth surface. Begin applying the vinyl at the top of the helmet, stretching and smoothing as you move along. Be careful around the vents, visor lip, and safety stickers like DOT, ECE, Snell, or SHARP.
Once finished, let the helmet cool for a few hours to allow the vinyl to bond properly, and your custom helmet will be ready for the road.
Measuring and Cutting
- Measure Accurately: Use a measuring tape to get the dimensions of your helmet, including the top, crown, and any vents or visor lip.
- Cut the Vinyl: Cut your vinyl sheet using a cutting tool like a razor blade or X-Acto knife. Cut slightly larger than needed for adjustments.
Installation Process
- Apply the Base Layer: Start by applying the base layer of the vinyl. Position it carefully and use a squeegee to smooth it out, working from the center towards the edges.
- Handle Bubbles and Wrinkles: If you encounter bubbles, use a heat gun to warm the vinyl, making it more pliable. Smooth out bubbles with a squeegee or your fingers. Patience and attention to detail are key here.
Trimming and Finishing
- Trim Excess Vinyl: Use knifeless tape or your cutting tool to trim excess vinyl around the helmet’s edges.
- Seal the Edges: Apply heat around the edges to ensure they bond well, preventing peeling and ensuring a durable finish.
Helmet Wrapping – Is it Legal?
In the USA, helmet wraps and tinting are generally legal, but regulations can vary by state. Ensure that your wrap does not interfere with safety stickers or DOT, ECE, Snell, or SHARP ratings. Always check local laws to avoid any issues.
How Much Does It Cost to Vinyl Wrap a Motorcycle Helmet?
The cost of wrapping a motorcycle helmet varies depending on the materials you use and how much effort you’re willing to put in. Vinyl wraps range from low-quality options to best brands like 3M, known for higher quality. The more complex the design of your helmet, the more work and skill it will take, driving up the price.
While custom paint is permanent, a vinyl wrap is removable and can be reapplied. On the low end, some vendors offer wraps starting at around $200, but more detailed designs or graphics from premier shops can go as high as $600 for a bespoke finish. You can even check your local car or sign shops, though some might avoid helmet wraps due to the difficulty of working with the helmet’s curves.
DIY: You can wrap your helmet at home with materials costing around $100 to $150. This includes the vinyl sheet and basic tools like a squeegee and heat gun.
Professional Services: Professional helmet wraps can range from $200 to $400, depending on the complexity and quality of a brand Services from companies like Dewraps or HP Graphics ensure high-quality results but at a higher price.
Conclusion
Wrap a motorcycle helmet is a rewarding way to combine protection with personalization. Whether you choose a DIY approach or opt for professional services, the right materials and techniques will ensure a great result. From vibrant colors to sleek designs, helmet wraps offer endless possibilities to enhance your riding experience.
FAQs
Can I wrap my helmet with a custom design?
Yes, you can customize your helmet with any design you like. Many companies offer custom helmet wraps with unique graphics and colors.
How long does a helmet wrap last?
With proper care, a helmet wrap can last several years. Avoid exposing it to excessive sunlight to prevent fading.
Can I remove the wrap if I don’t like it?
Yes, wraps can be removed using heat to soften the adhesive. Gently peel off the vinyl and clean any residue.
Is helmet wrapping cheaper than painting?
Yes, wrapping is generally more affordable than painting. It also allows for easier changes and updates.
Do helmet wraps affect safety?
A properly applied wrap should not affect helmet safety. Ensure the wrap does not interfere with safety stickers or certifications.
Is wrapping a motorcycle a good idea?
Yes, wrapping a motorcycle is a good idea. It acts as a barrier against scratches and chips, preserving the pristine appearance of your bike and keeping its surface intact for a longer period of time.
How to put vinyl on a helmet?
To apply vinyl on a helmet, start by removing the backing paper from the decal. Carefully position the decal so that the center touches the helmet first. Then, press the decal down from the center outwards, ensuring that the vinyl conforms to the curve of the helmet.
About the Author
I am Daniel Ken, an experienced motorcycle rider with 8 years on the road, and I specialize in writing about motorcycle helmets. I share expert insights on helmet safety, comfort, and style, helping fellow riders choose the best gear. My knowledge covers top safety standards, helmet types, premium materials, and advanced ventilation and noise reduction features.